In response to this article about Firefox 30 and vCloud 5.1.x and this article about Java updates breaking everything I decided to throw together a quick How-to on using ThinApp to create a sandboxed version of Firefox and Java that solves both of these problems pretty well.
This ThinApp setup includes a legacy version of Java (7u25) which is super old but it should help with accessing the following (not exhaustive list, just things I have run into, please help expand list):
- UCS Manager 2.1.x
- vCloud Director 5.1.x Uploads
- HP iLO 2.x
- Legacy DRAC
- vCloud VPN
- EMC Unisphere
Onward, but first an important caveat:
This process creates an insecure browser installation, DO NOT browse the internet with this configuration…ever.
You have been warned.
Note: I am not a ThinApp expert (and I usually avoid windows, hah!) so there may be a more elegant way to do this, if anyone has tips let me know!
First, collect the correct tools, I attached the versions that I used at the end of the post:
- Firefox 29.0.1 Link
- Java 7u25 (32 bit) Link
- Flash Installer (for correct OS, I used Win8.1) Link
- VMRC Installer for 5.1.x from your instance (or mine from 5.1.x below)
- VMware ThinApp 5.x Trial
- Clean Windows 7 or 8 Capture VM (Base install without security software is best)
After Windows is installed, the following are steps to take to create the package:
- Take snapshot of base VM
- Install ThinApp 5.x
- Take snapshot (this is a theme, I have found a successful ThinApp capture is snapshot heavy)
- Start “ThinApp Setup Capture” utility, Click Next
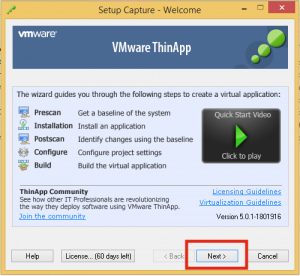
- Click Prescan
- Install Firefox
- Choose Custom
- De-select “Maintenance Service”
- Install Flash (Latest version is fine)
- Install Java
- Choose “Change Destination Location”
- Install to “c:\java”
- Install VMRC Plugin
Launch Firefox, perform the following tasks
- Navigate to about:config in Firefox, Click “I’ll be careful, I promise!”
- Change the following settings
- app.update.auto – false
- app.update.enabled – false
- app.update.silent – false
- app.update.mode – 2
- extensions.update.autoUpdateDefault – false
- extensions.update.enabled – false
- (optional, disables login remembering) signon.rememberSignons – false
- (optional, enables pop-ups since vCD uses these) dom.disable_open_during_load – false
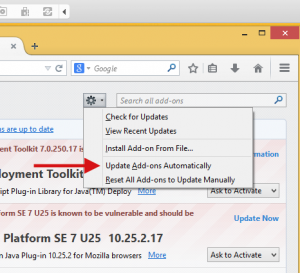
- Verify plugin updating is disabled:
- Navigate to Menu -> Addons
- Click Plugins
- Click the gear icon and make sure this option is not selected
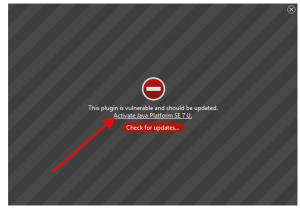
- Perform the following tasks to verify that Java is installed
- Navigate to this Link
- Click “Activate”
3. **Click** to “Allow and Remember” 4. **Check** the “Don’t Ask Again…” Checkbox and **Click** Later
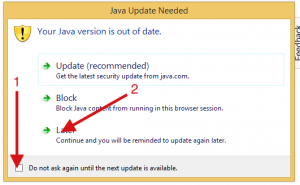 5. **Click** the Run button at the prompt to verify the Java applet loads
Take Snapshot (just in case)
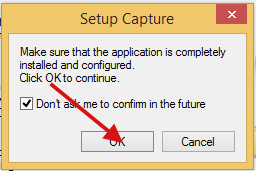
Back to the ThinApp Capture Utility, click Postscan
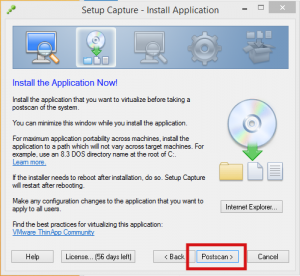
- Click OK
This will take some time, so grab some coffee.
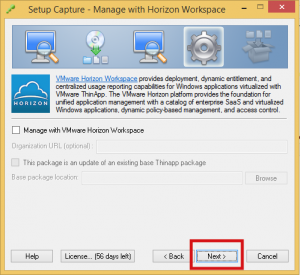
De-select all entry points other than Firefox, click Next

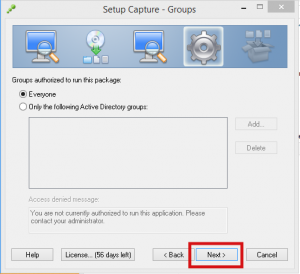
- Click Next
- Click Next
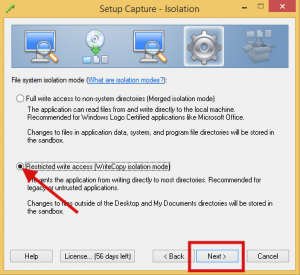
- Select “Restricted write access”, click Next.
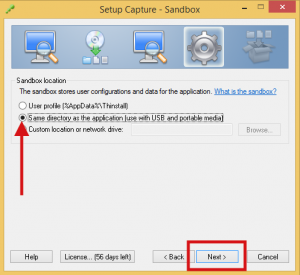
- Select “Same Directory…”, click Next.
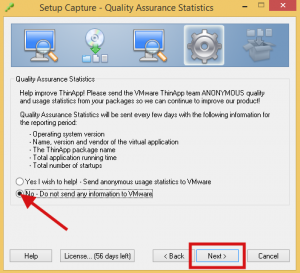
- Select No (unless you want to share), click next
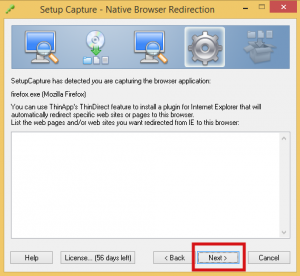
- Click next (I don’t use the ThinDirect feature because it only works with IE)
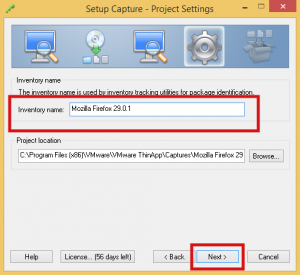
- Update inventory name to “Firefox 29.0.1″ to differentiate it.
- Select “Use one of the entry points” then pick “Mozilla Firefox.exe”, Check “Compress virtual package”, Click:
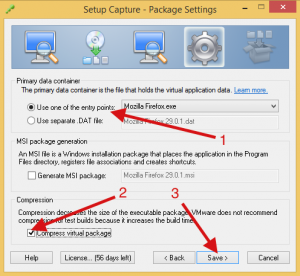
- Click OK

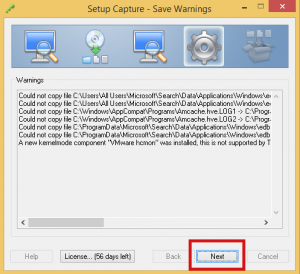
- Ignore warnings (like a boss) and click Next
- Click “Edit Package.ini”

- In Package.ini, Locate the block “[Mozilla Firefox.exe]” and perform the following changes to the block
- Add “StatusbarDisplayName=BeyondVM Firefox 29.0.1 Build “
- Add “CommandLine=%ProgramFilesDir%\Mozilla Firefox\firefox.exe -no-remote”
- Rename block from [Mozilla Firefox.exe] to [Mozilla Firefox 29.0.1.exe]
- Save Package.ini
- Click Build
Wait, this will also take some time, more coffee!
- Click Finish
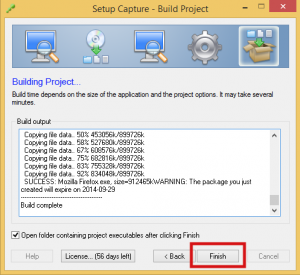
At this point you will have a functioning ThinApp package file all bundled up in the single exe file in the bin directory. You might notice that this package is quite large, I performed the following additional steps to my package to get it down to about 350MB from over 800.
- Edit Package.ini and perform the following modifications
- Add the following section below the compression type
[FileList]
ExcludePattern=.bak,.msi,.mst,.cab,*.msp
- Delete all entry points other than [Mozilla Firefox 29.0.1.exe]
- Delete the following directories from the package (note: I have not exhaustively tested this, some of these may be required but it worked for me)
- %drive_C%\Users\All Users\Microsoft\Windows Defender
- %ProgramFilesDir(x64)%
- %SystemRoot%\WinSxS
- %SystemRoot%\assembly
- %SystemRoot%\Installer
- %SystemRoot%\Logs
- Run build.bat as an Administrator
- Add the following section below the compression type
After that the package is pretty snappy and should be good to go. It will create a profile directory next to the EXE to save settings in, this will include popup allowing and certificate exceptions. The first time I logged into my vCloud instance I had to tell it to run the JRE again, I was unable to figure out how to get it to never ask during the build process but it wasn’t that bad to just do it the first time.
These are all of the files required to do this as well as the package I created following these directions. My pre-built package will expire in about 60d unless I can get VMware to give me a community license (hint hint).
- BeyondVM Firefox 29 Bundle
- Firefox Setup 29.0
- FirefoxPortableESR 24.7.0 English Paf
- VMware VMRC Plugin
Please leave a comment if there is anything I can improve!
Lastly, the caveat we started with:
This process creates an insecure browser installation, DO NOT browse the internet with this configuration…ever.
You have been warned.
Goodnight and Good Luck.